With yesterday morning’s temperatures jacket-worthy, I knew it was time…time to get our layering on. In the D.C. area, early fall means that temperatures may start in the 60s in the morning, but rise into the 80s by afternoon. Because we are in that transitional period between hot and cold, I always like to talk about bringing some of those warm-weather pieces into cooler temps. There are tons of layering “tools” from scarves to jackets to cardigans to buttonups. But how do we put it all together without feeling like we’re stuffed in sausage casing of clothing?
Let’s start.
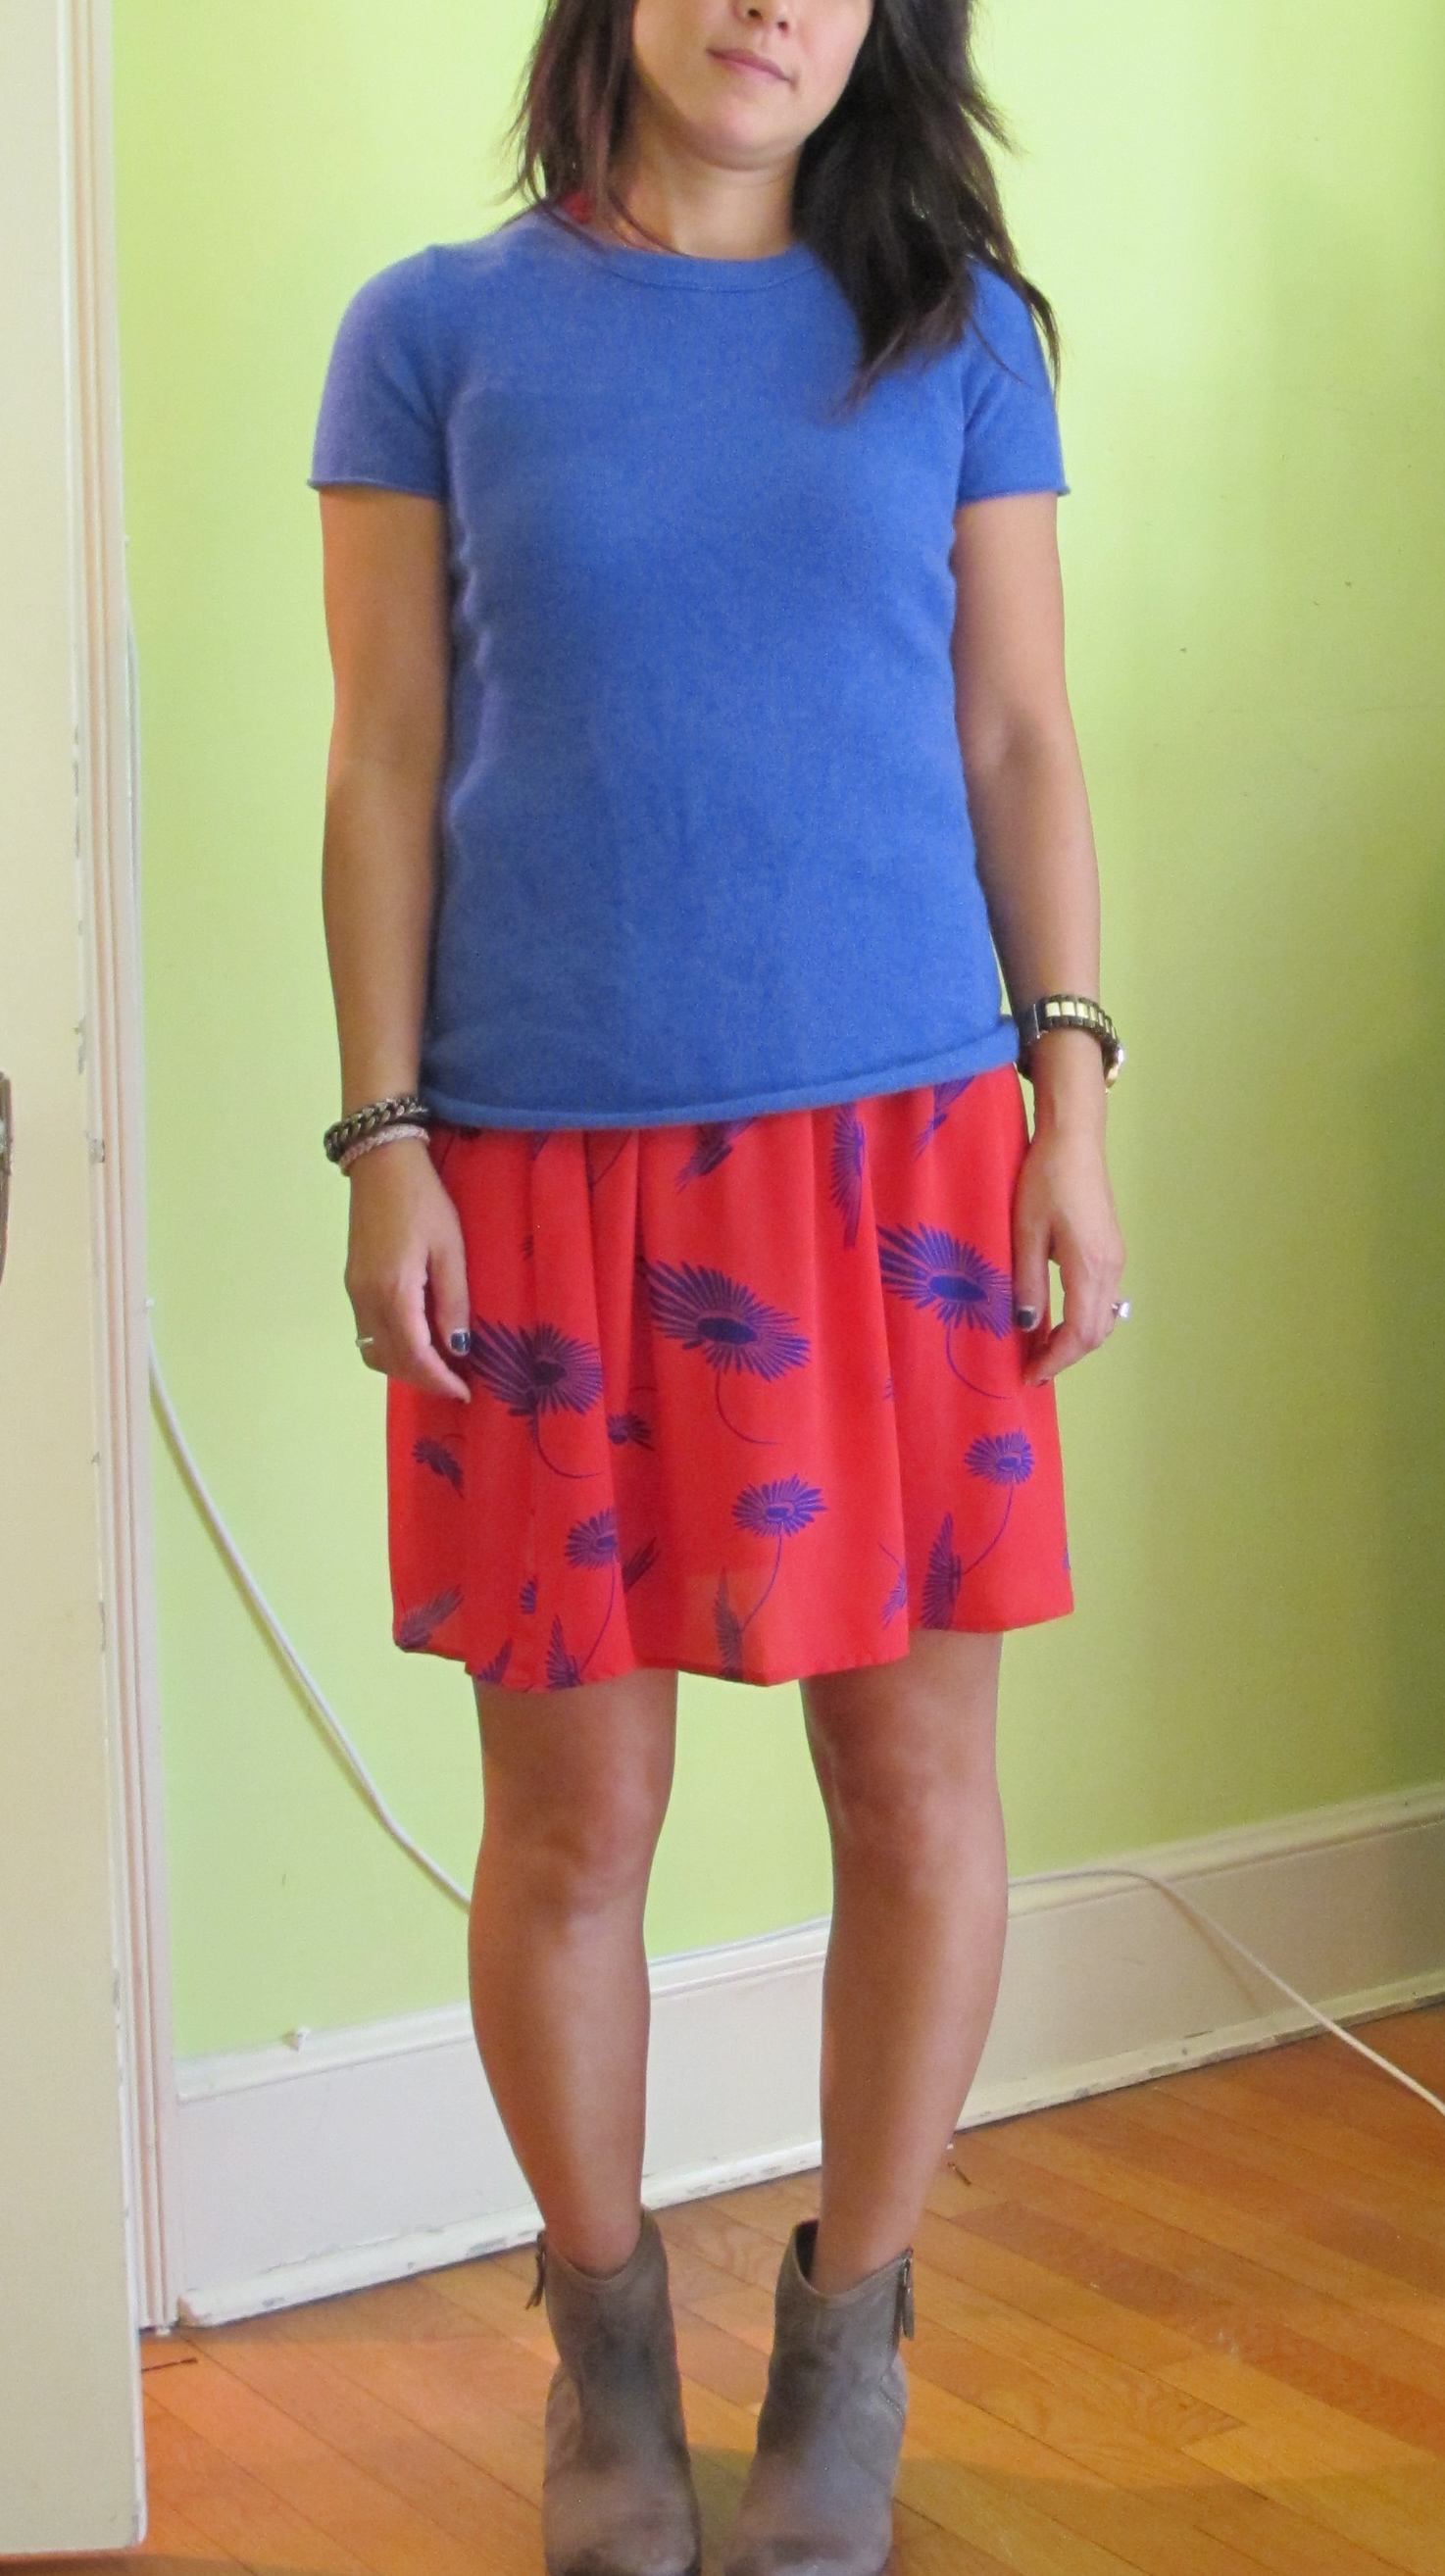
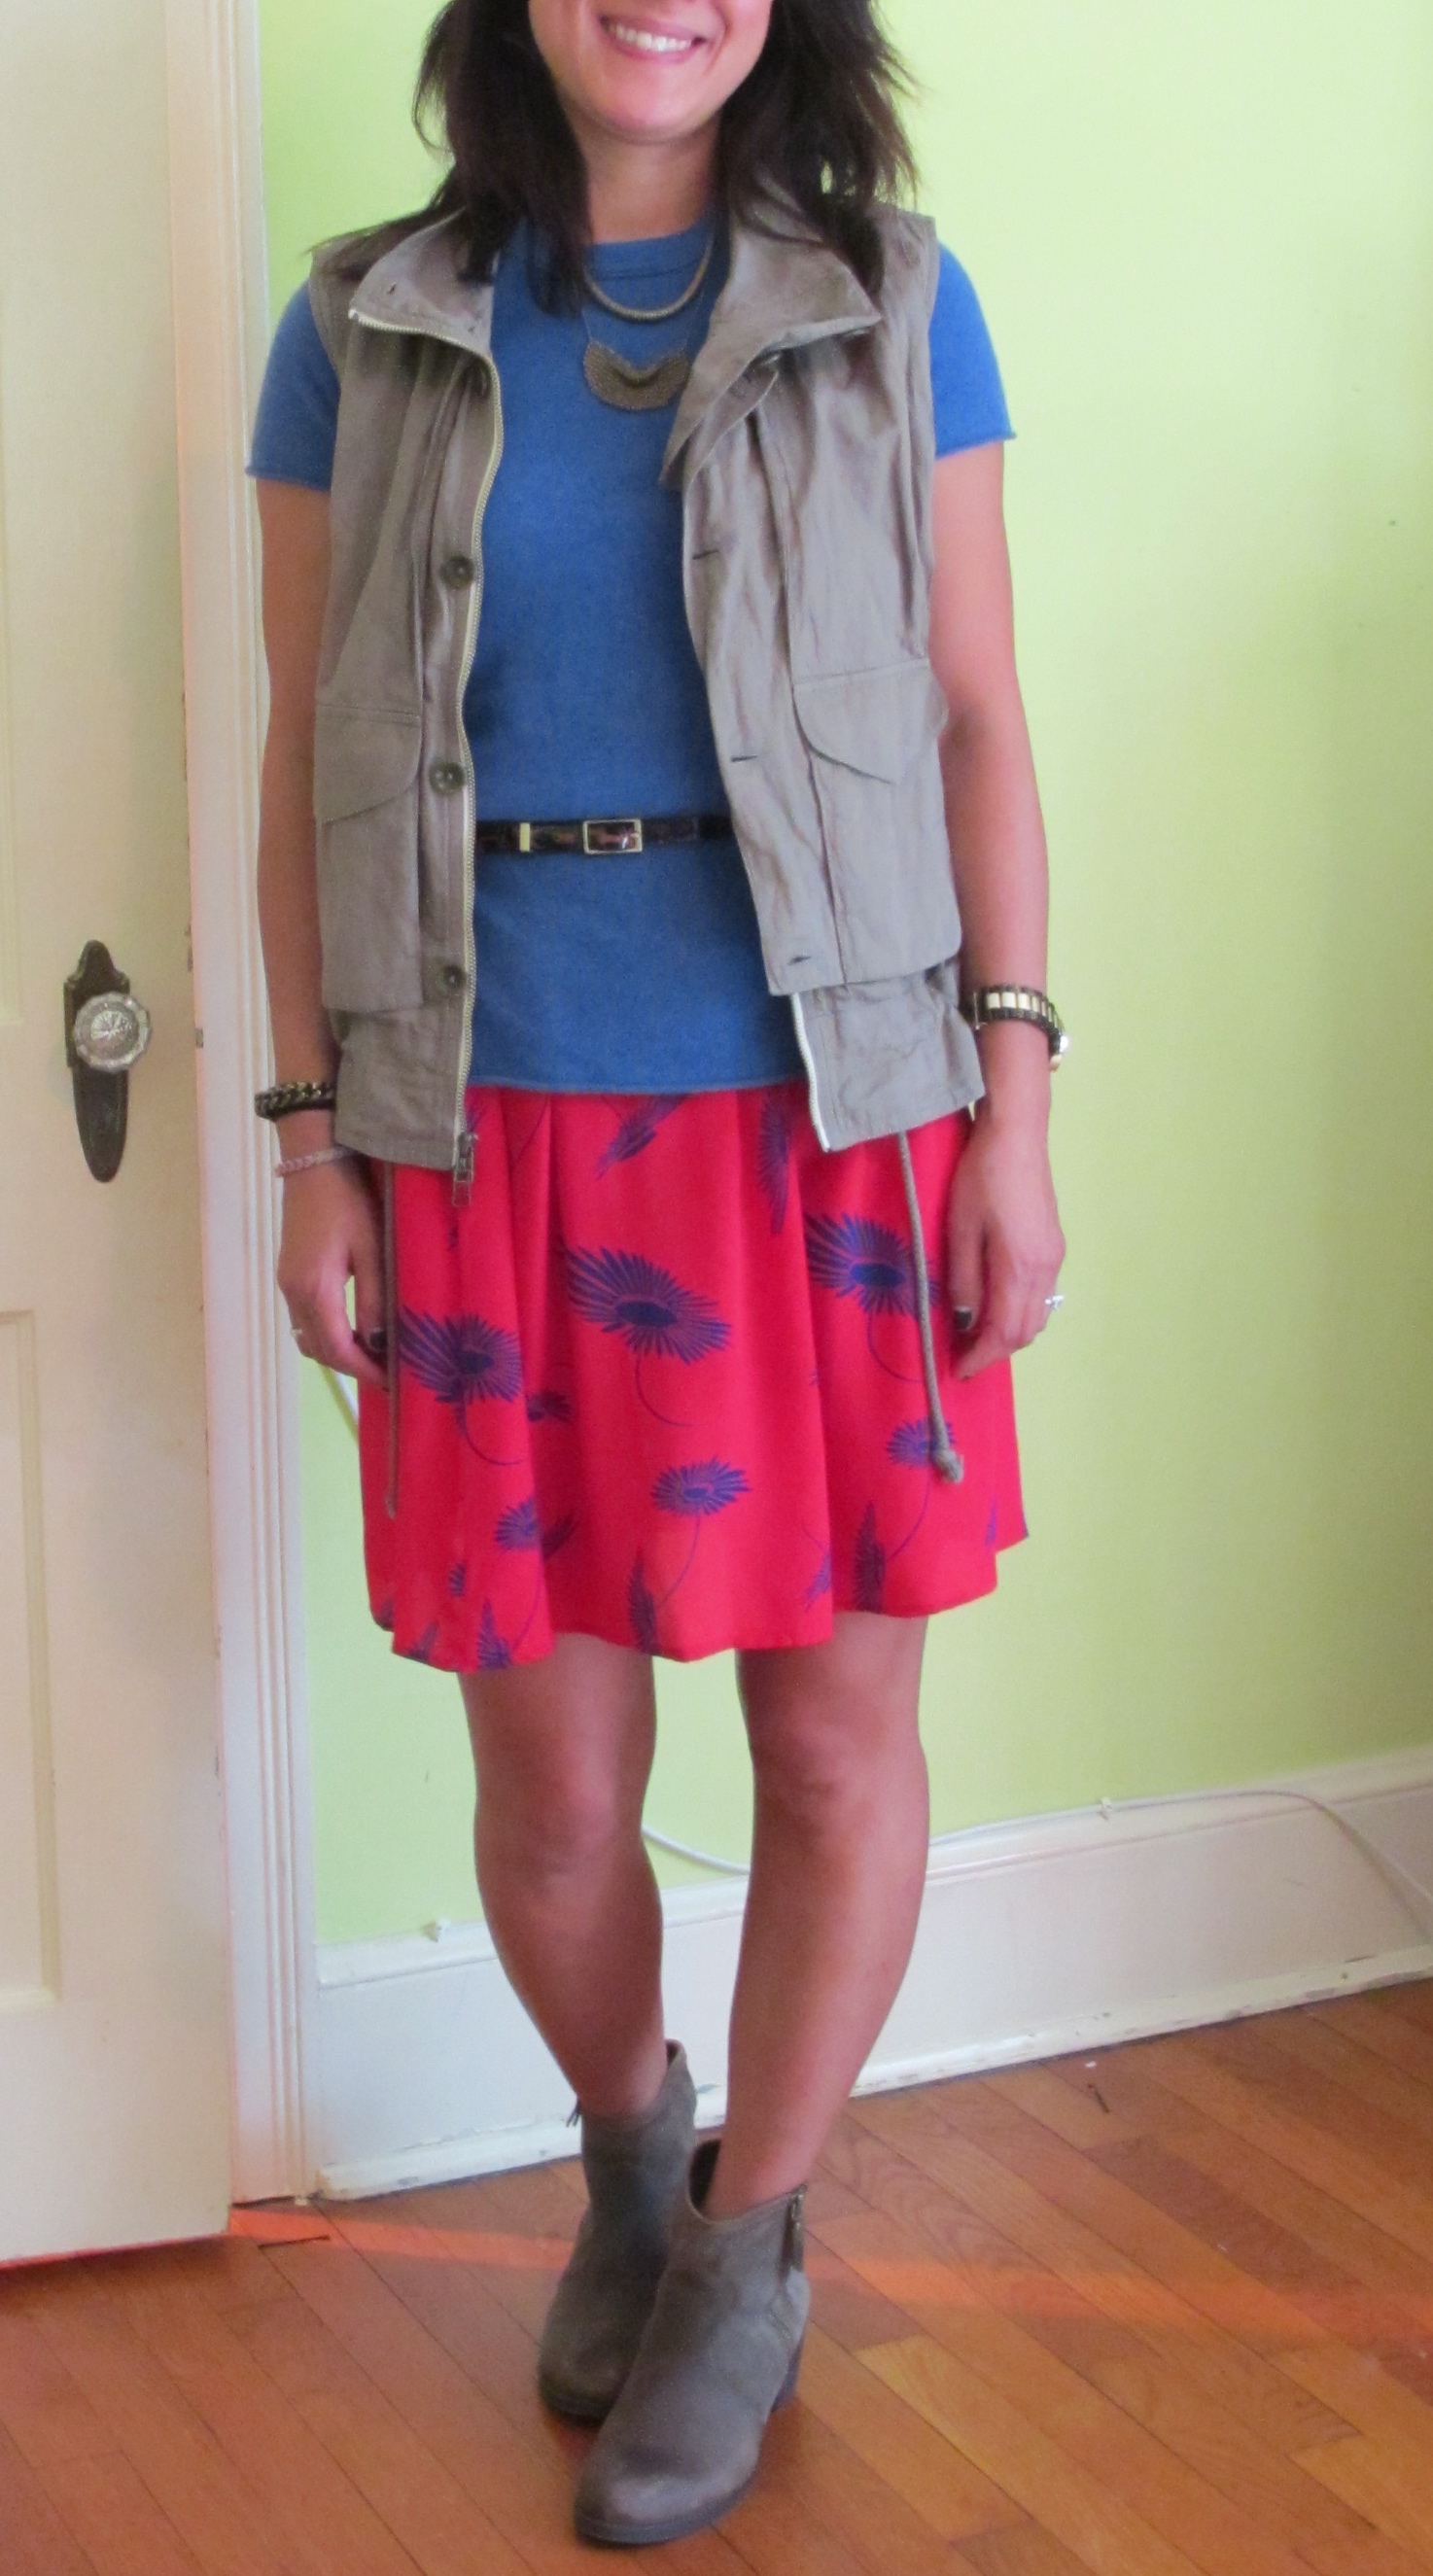
Layer #1: Base silhouette. The best place to begin is with your base piece whether that is a dress, a blouse and trousers, or skirt and blouse. Keep that base silhouette simple and thin because you are putting layers on top of it and if you start with something with bulk, you will end up looking, well, bulky. Since we are talking about bringing warm-weather pieces into cooler weather, I chose one of my favorite spring/summer dresses by Tucker that I’ve had for a few years. It’s light and airy and has a bold, fun color with a great print.
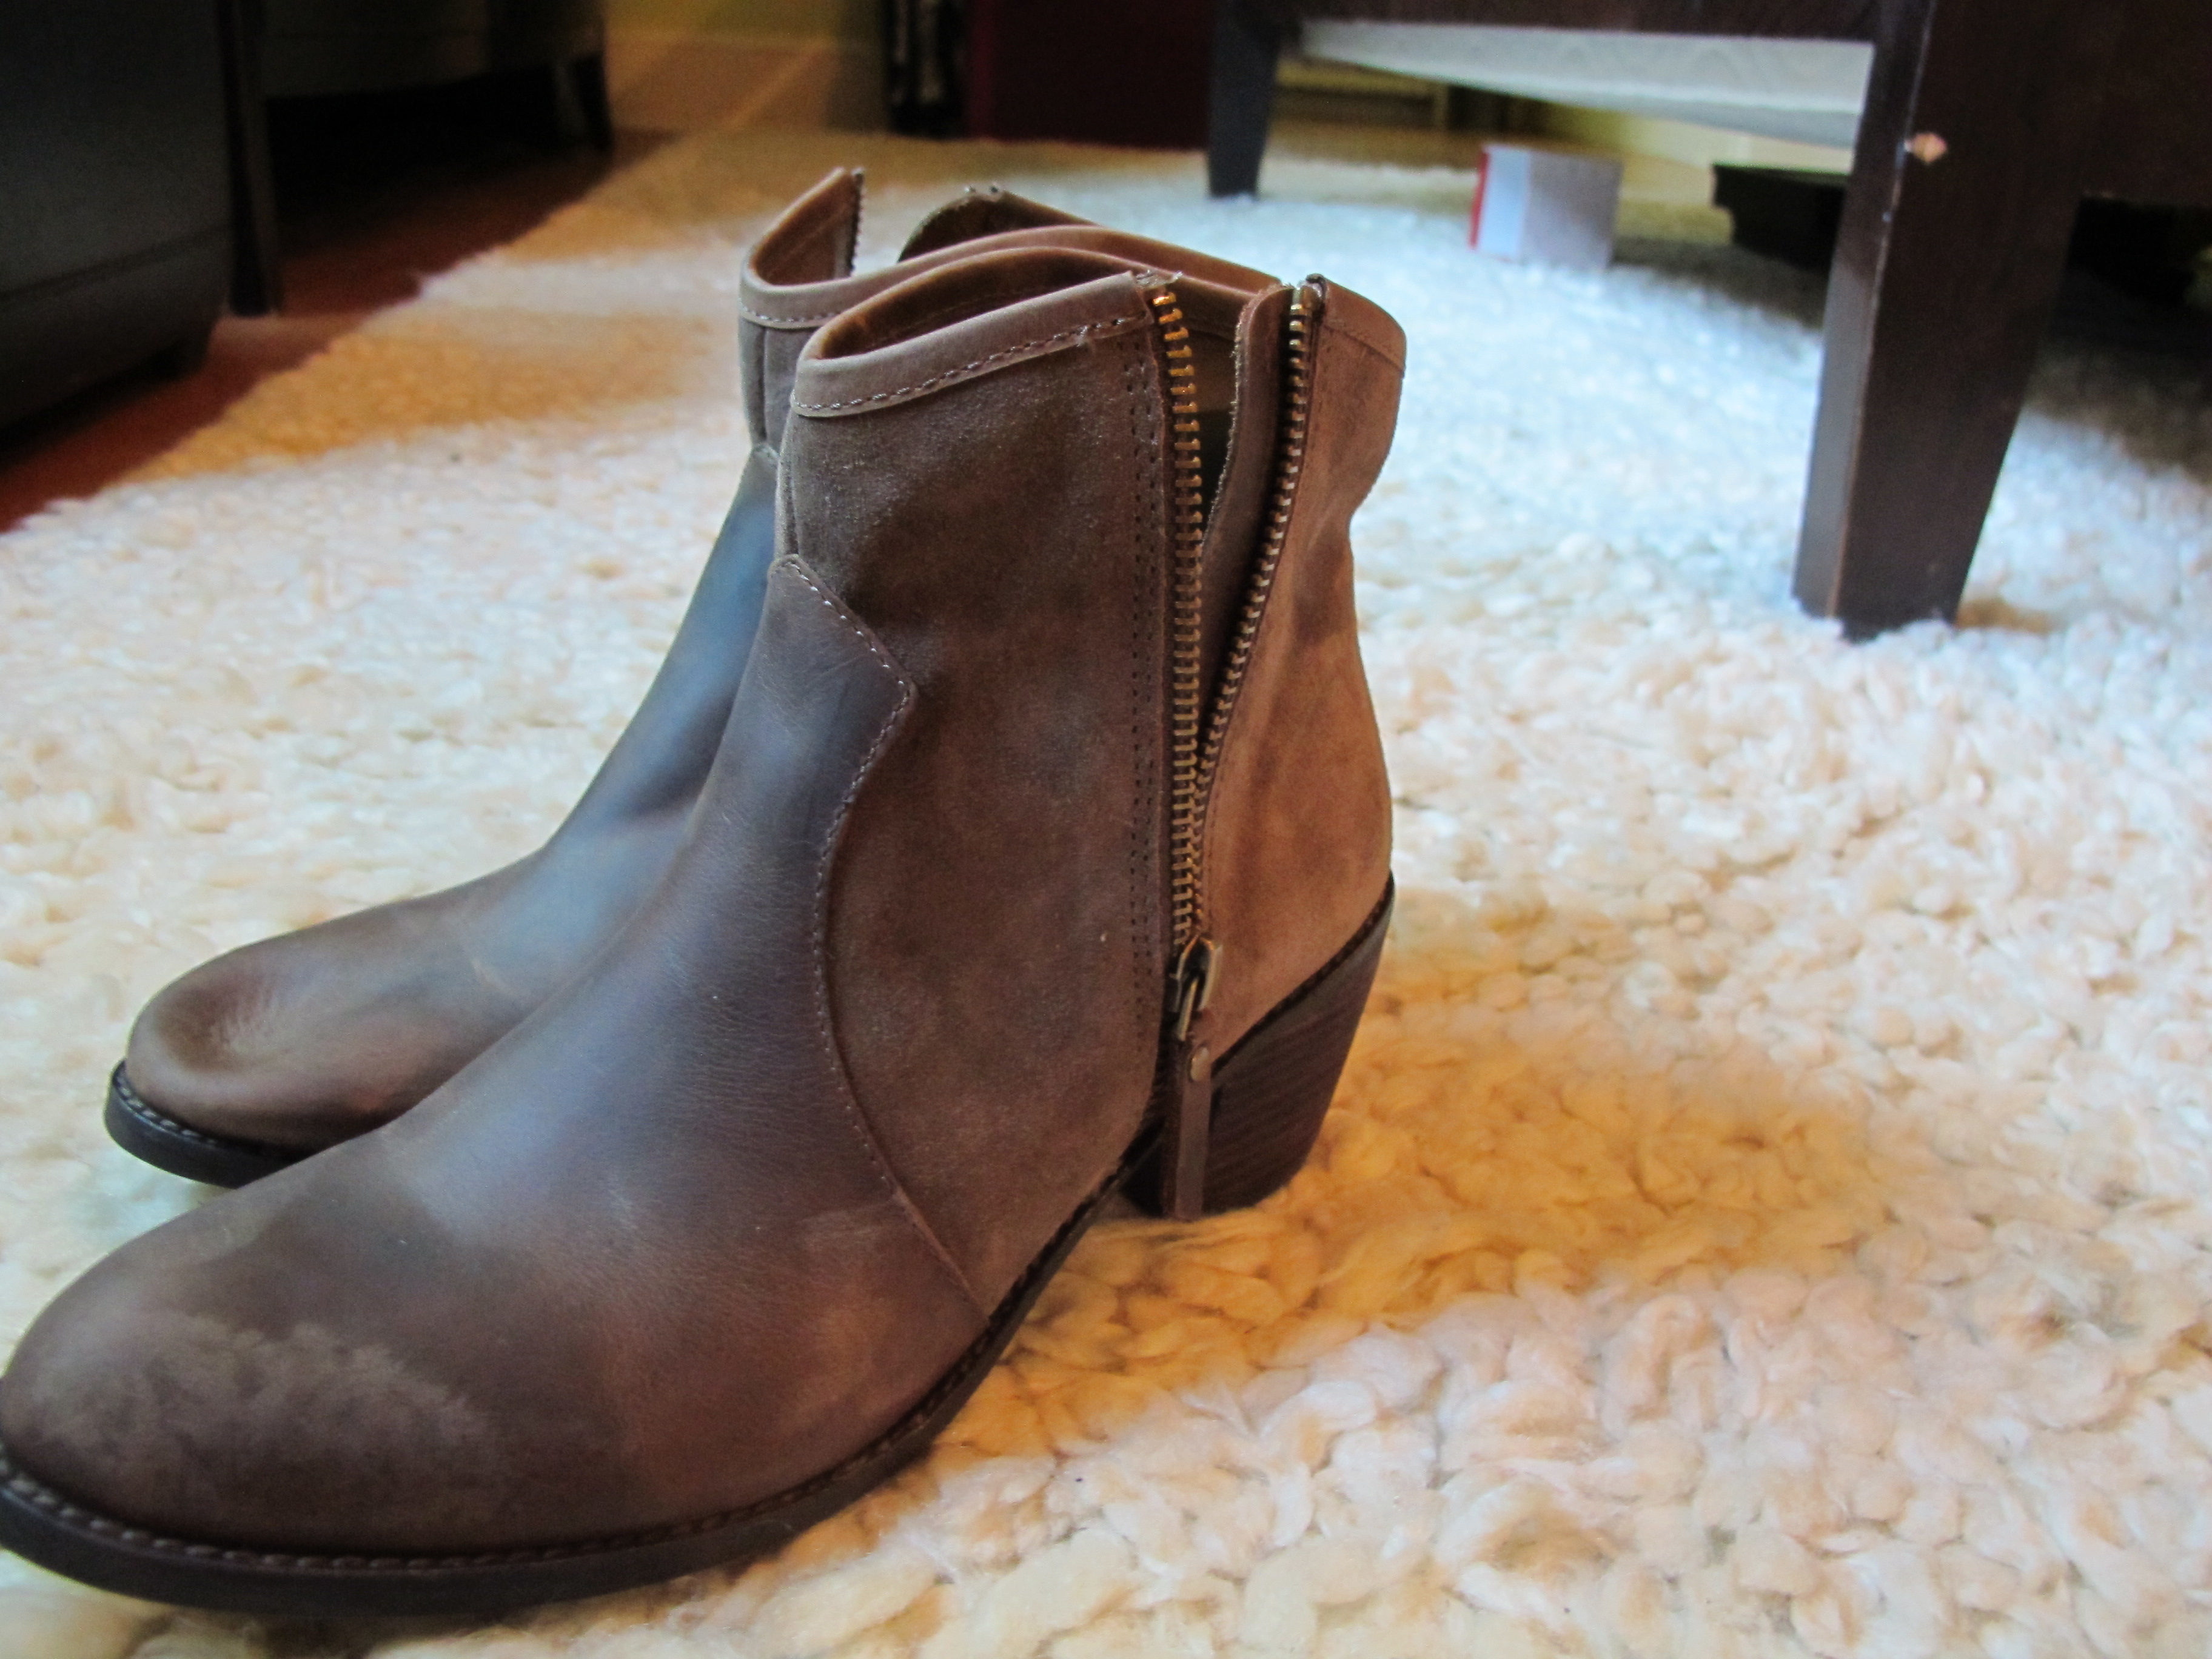
If I’m being perfectly honest that really isn’t where I started. I have been jonesing to wear my ankle boots from my Fall list. Plus, it’s always fun to put something something sweet and feminine with something rugged.
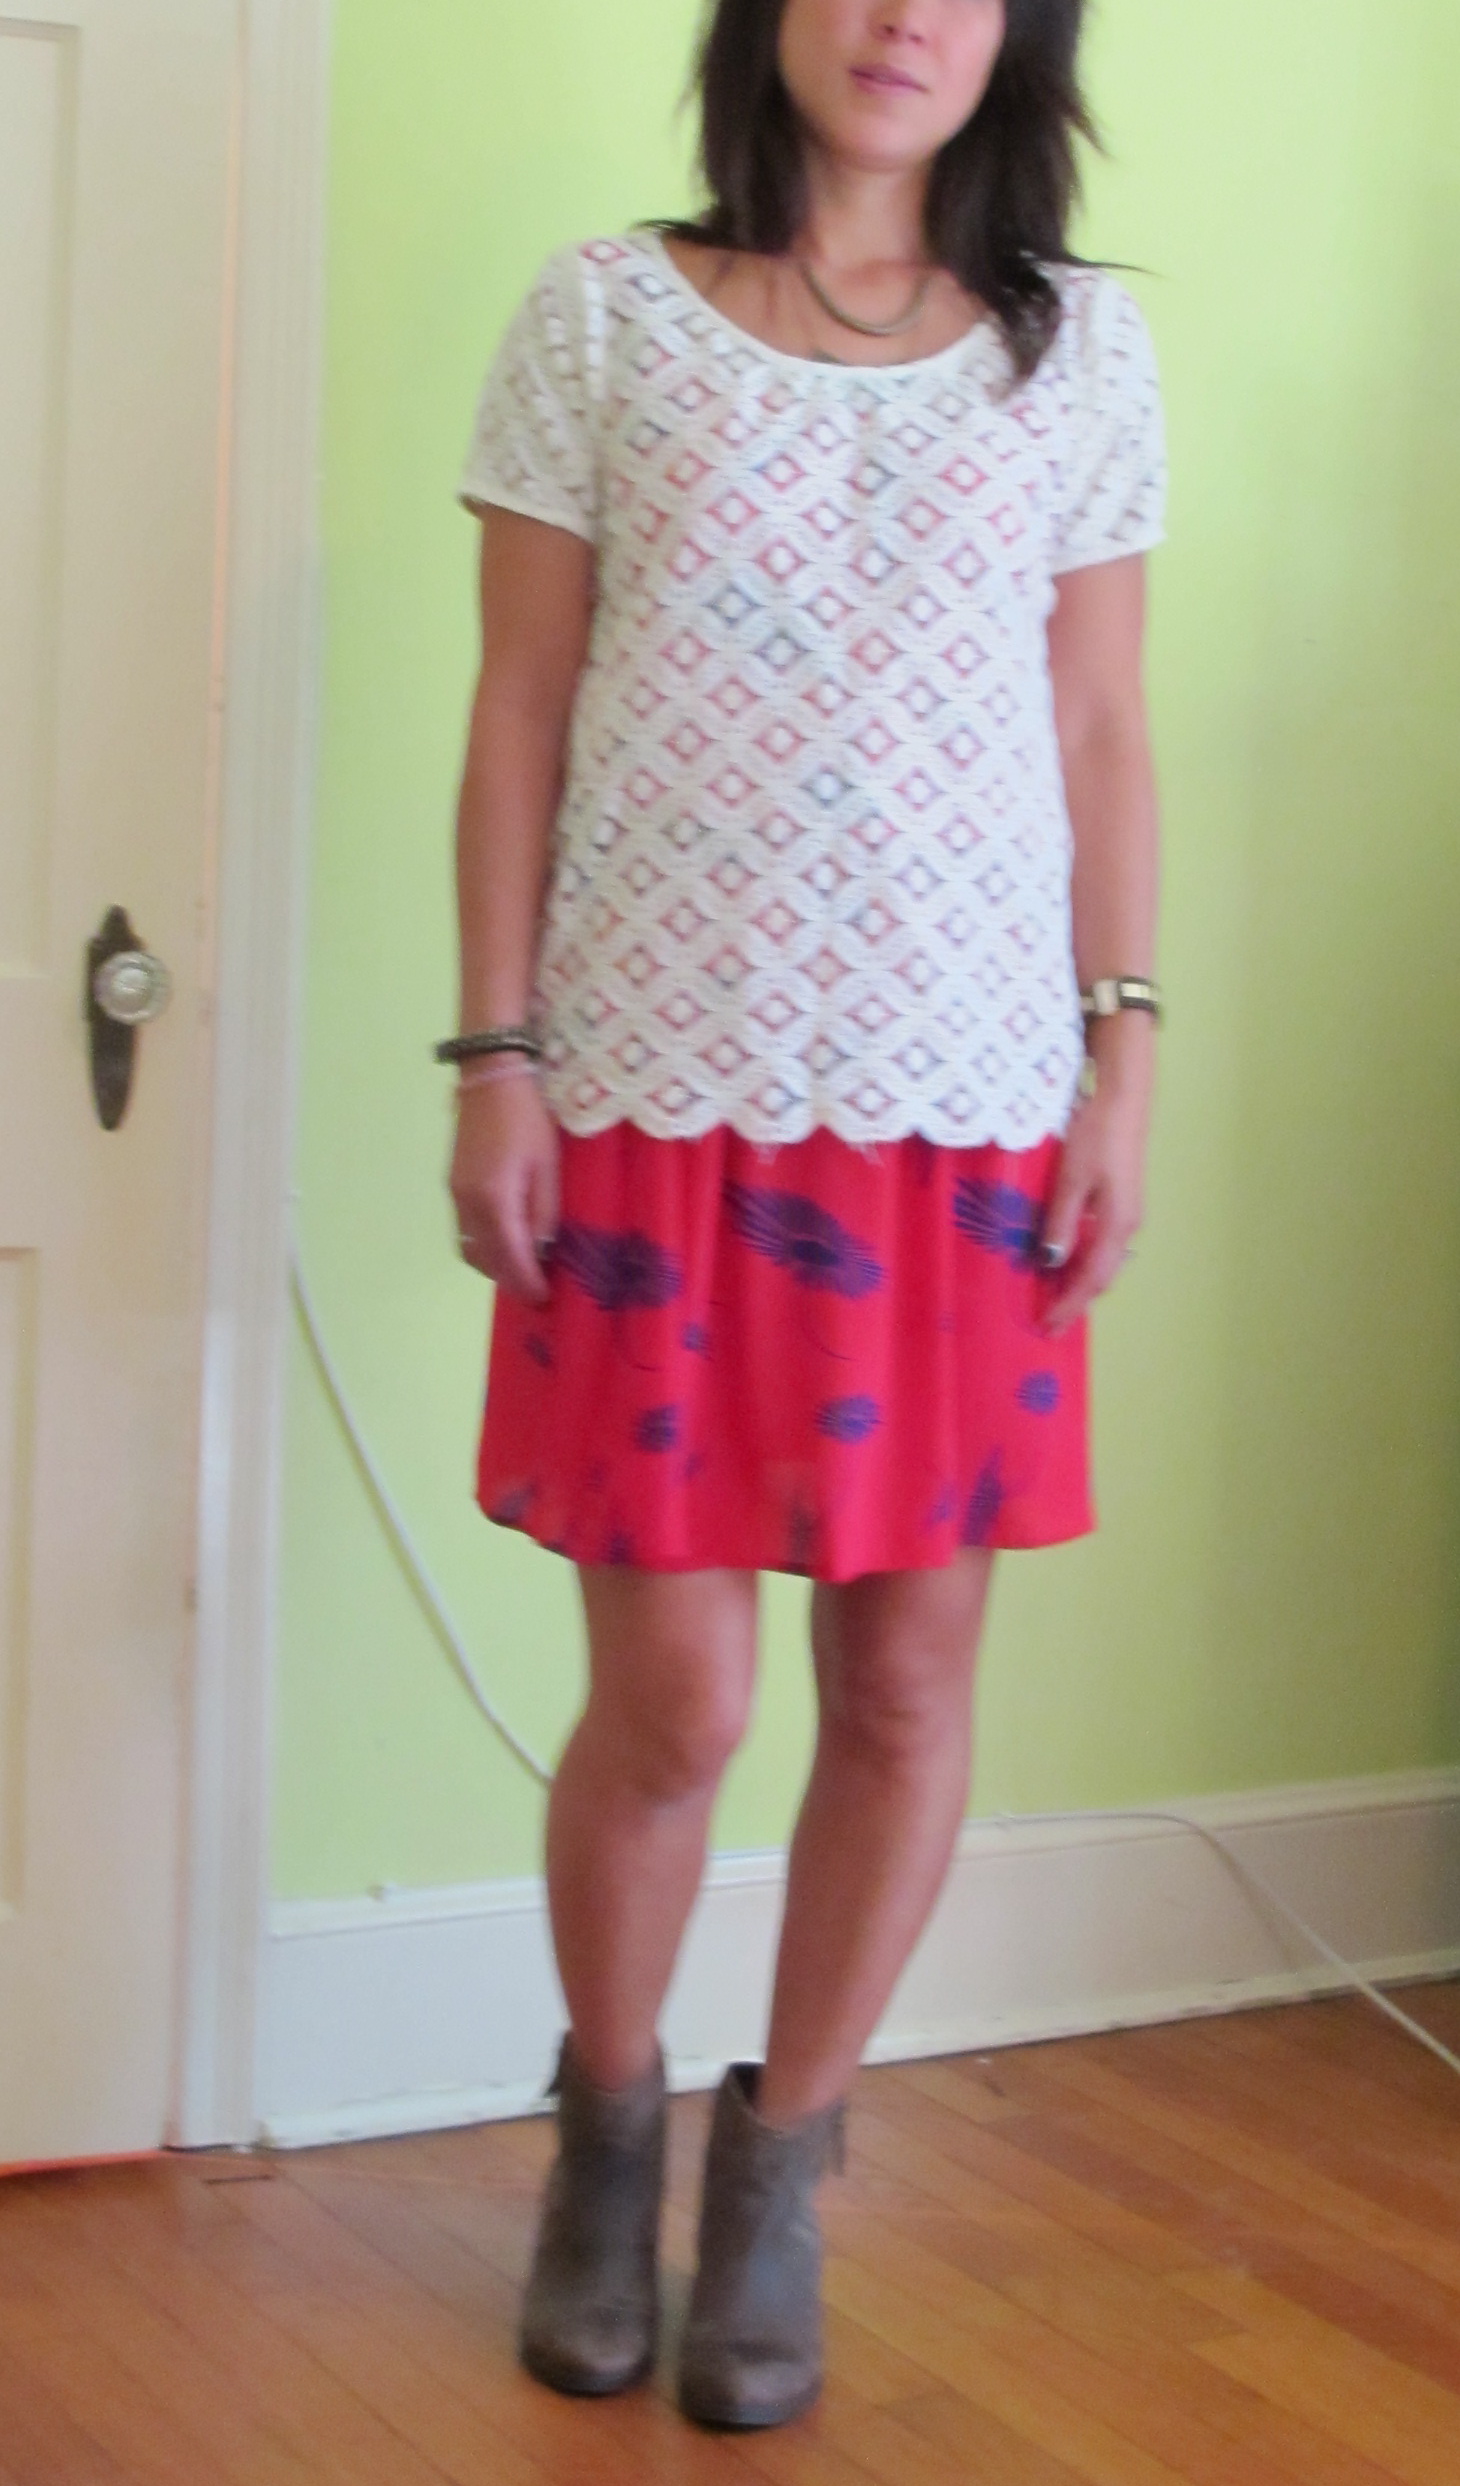
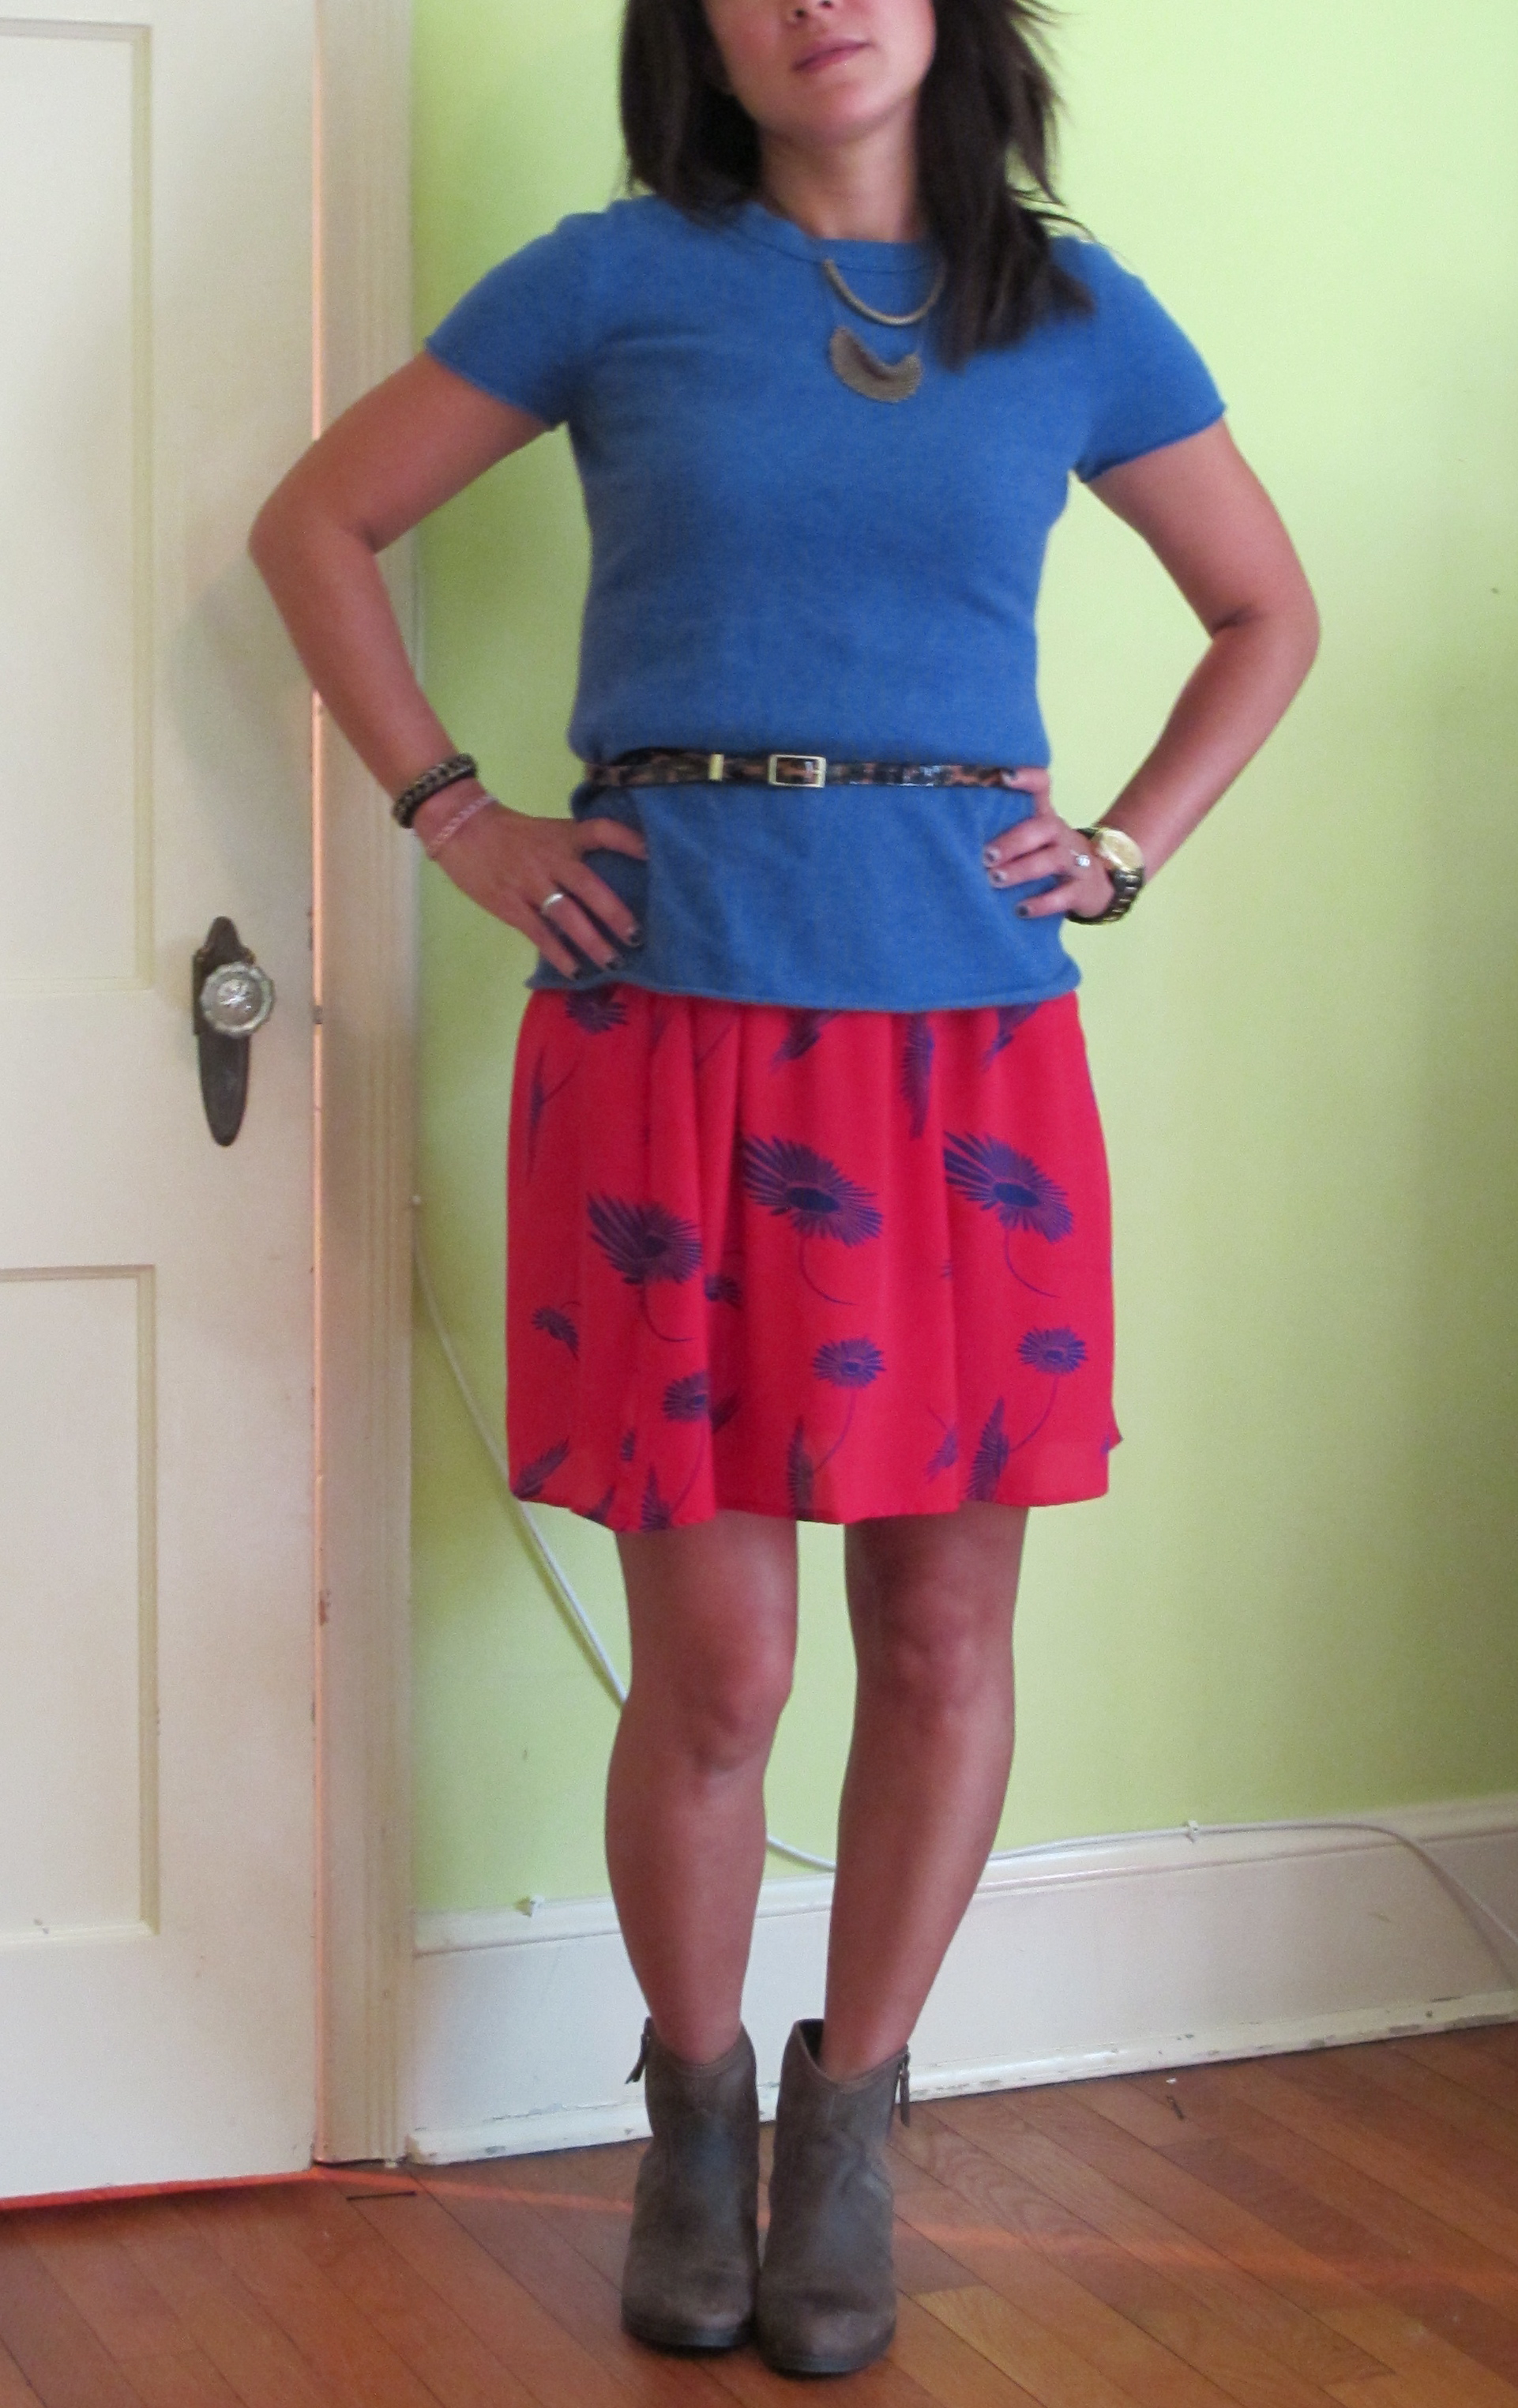
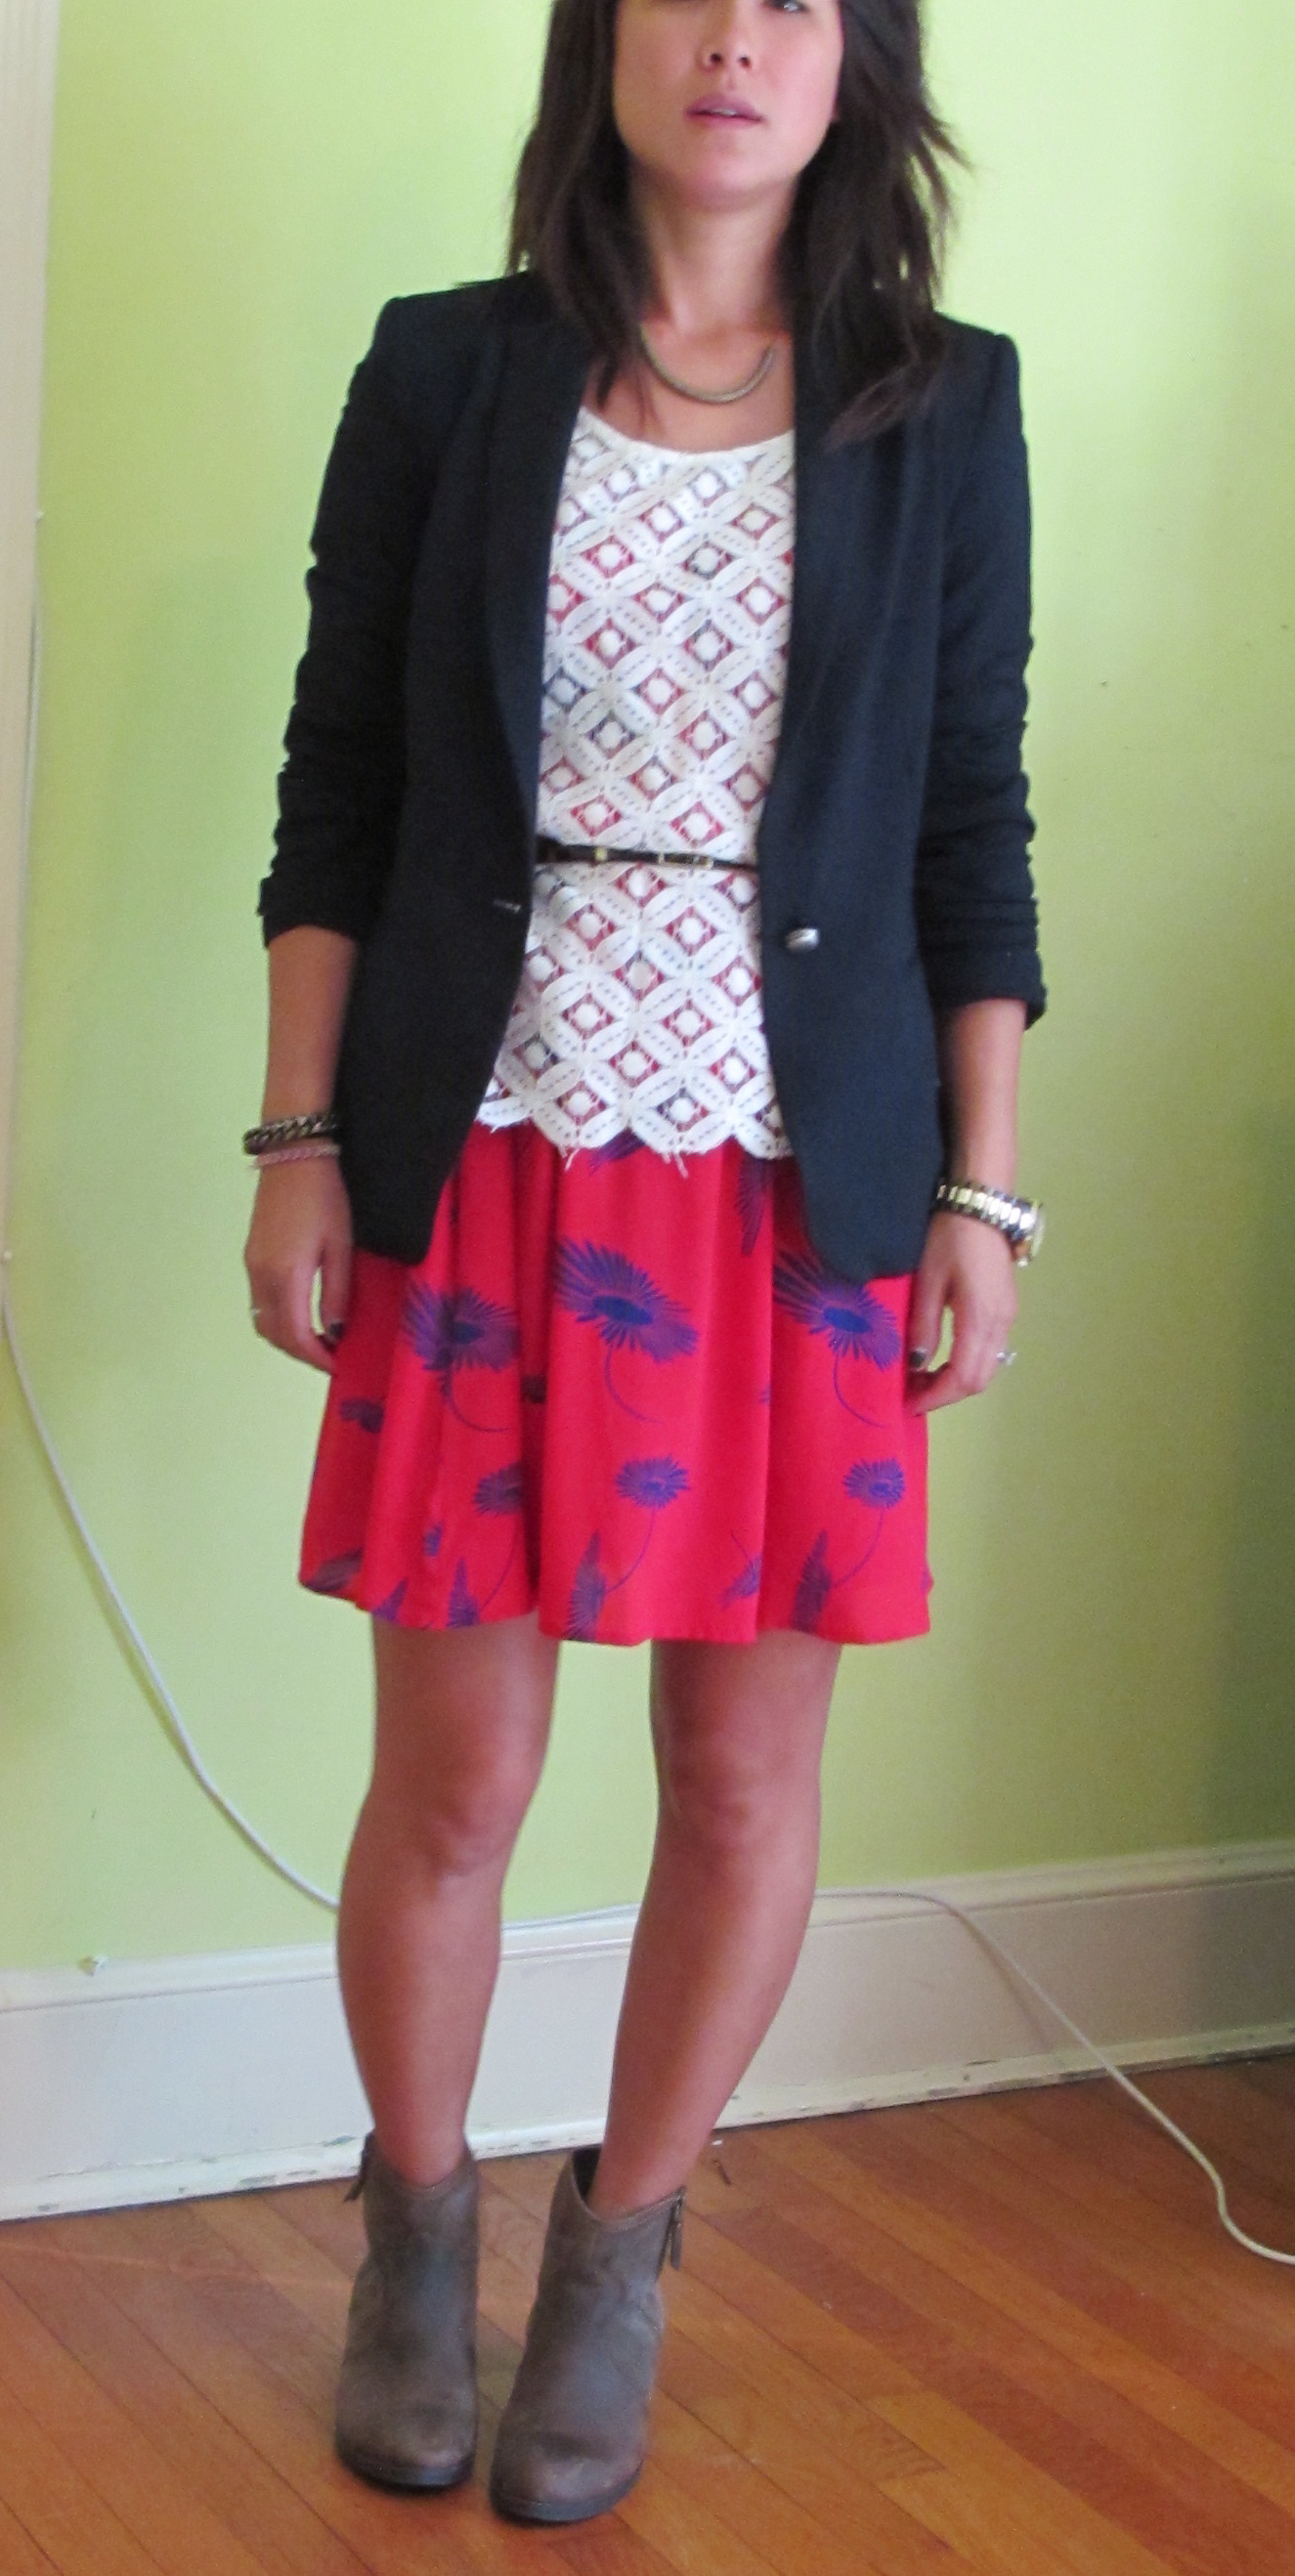
Layer #2: A top. I needed to give my dress sleeves for cooler weather. This can be a lace t-shirt, a buttonup shirt, a crewneck sweater, a cardigan sweater. Again, avoid anything bulky. Another option could be a cotton buttonup shirt. Here I have on a short-sleeve cashmere sweater from J. Crew (similar here) as well as a lace t-shirt from Anthropologie (similar here).
*Note: Select layers with different fabrics and textures so that they are all clearly separate and visible. For example, I would not have chosen a silk top because the dress is silk. Continue choosing different fabrics and textures for each layer.
Accessorize. The two layers should now be a complete outfit, with accessories to finish. This is because at some point, you may be removing your other layers — remember we are in D.C. early fall. For this particular outfit, I needed to tie the boots in with the rest of what I had going on so looked for some accessories with an earthy tone — hence the leopard-print belt and bronze jewelry.
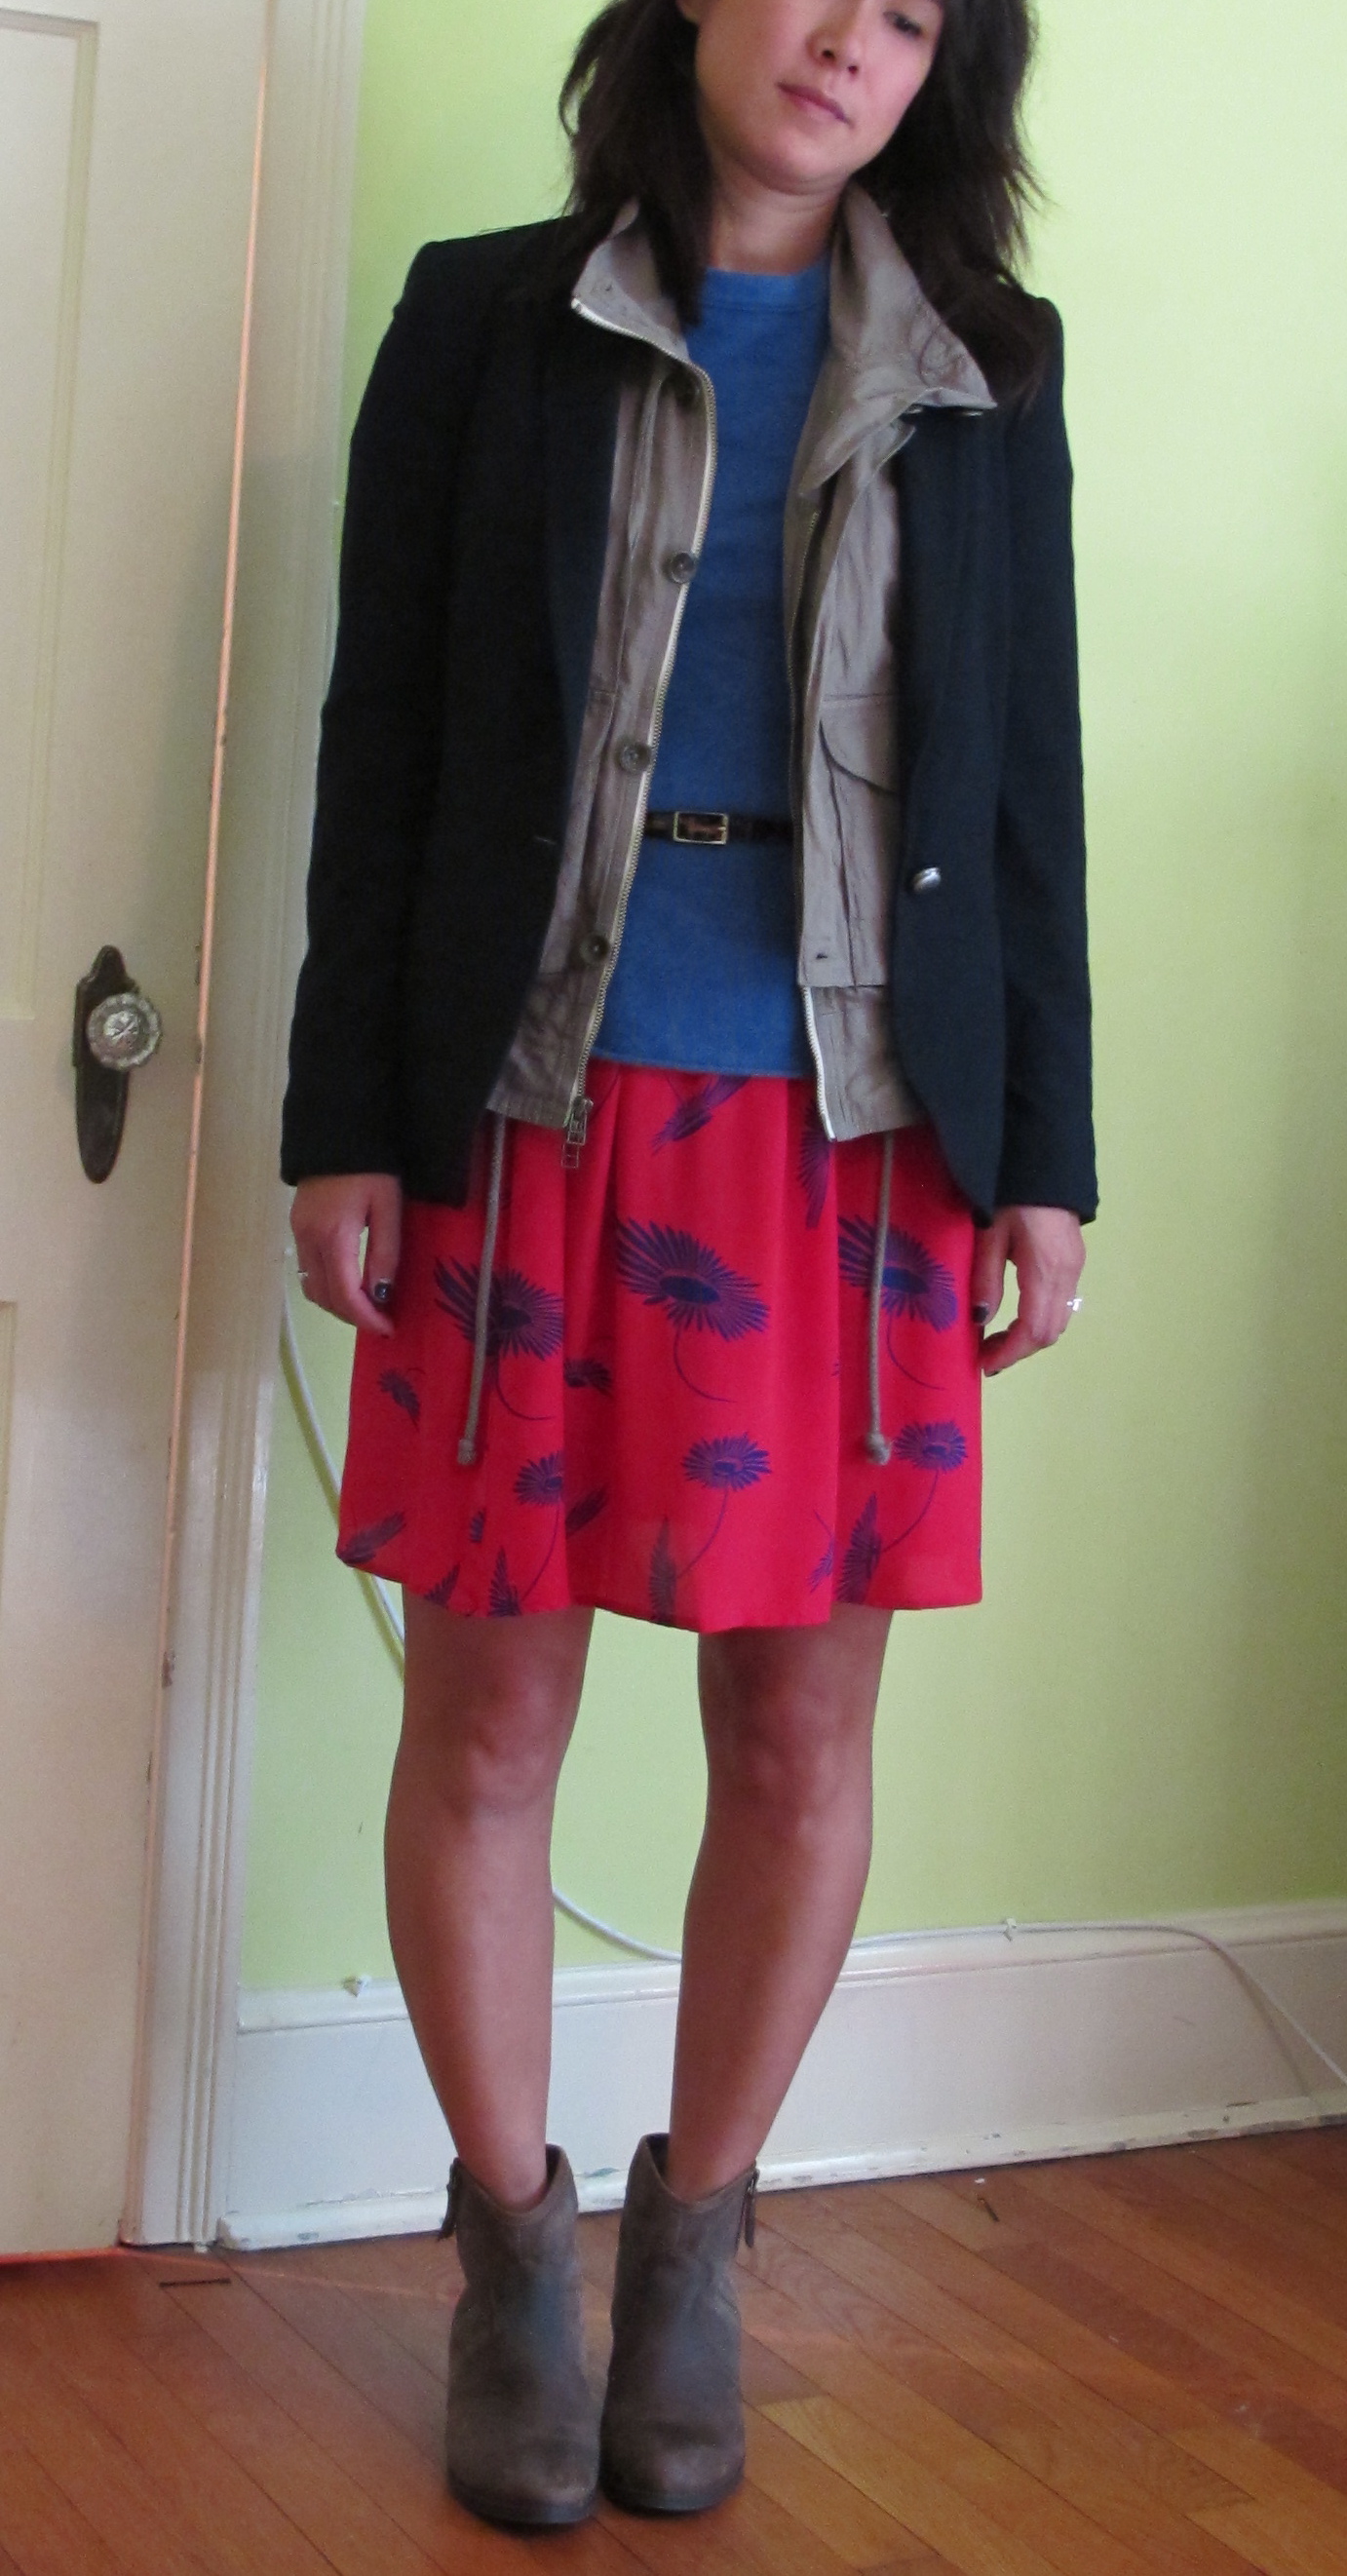
Layer #3: A vest. This could be sweater shell if your second layer was a cotton buttonup shirt, which isn’t as thick as the cashmere sweater tshirt I chose. I love the juxtaposition of the silk dress with the soft cashmere and then a boyish utility vest. Again, this outfit could stand on its own.
*Note: The vest I chose does have bulk. However, the fabric isn’t as heavy as a typical utility vest, which is why I though it could work. Try a summer weight utility vest. To err on the side of caution, select a classic vest, with no pockets, etc., made out of a cotton blend or denim. Avoid a vest that is a sweater material as your second-layer top is already a sweater.
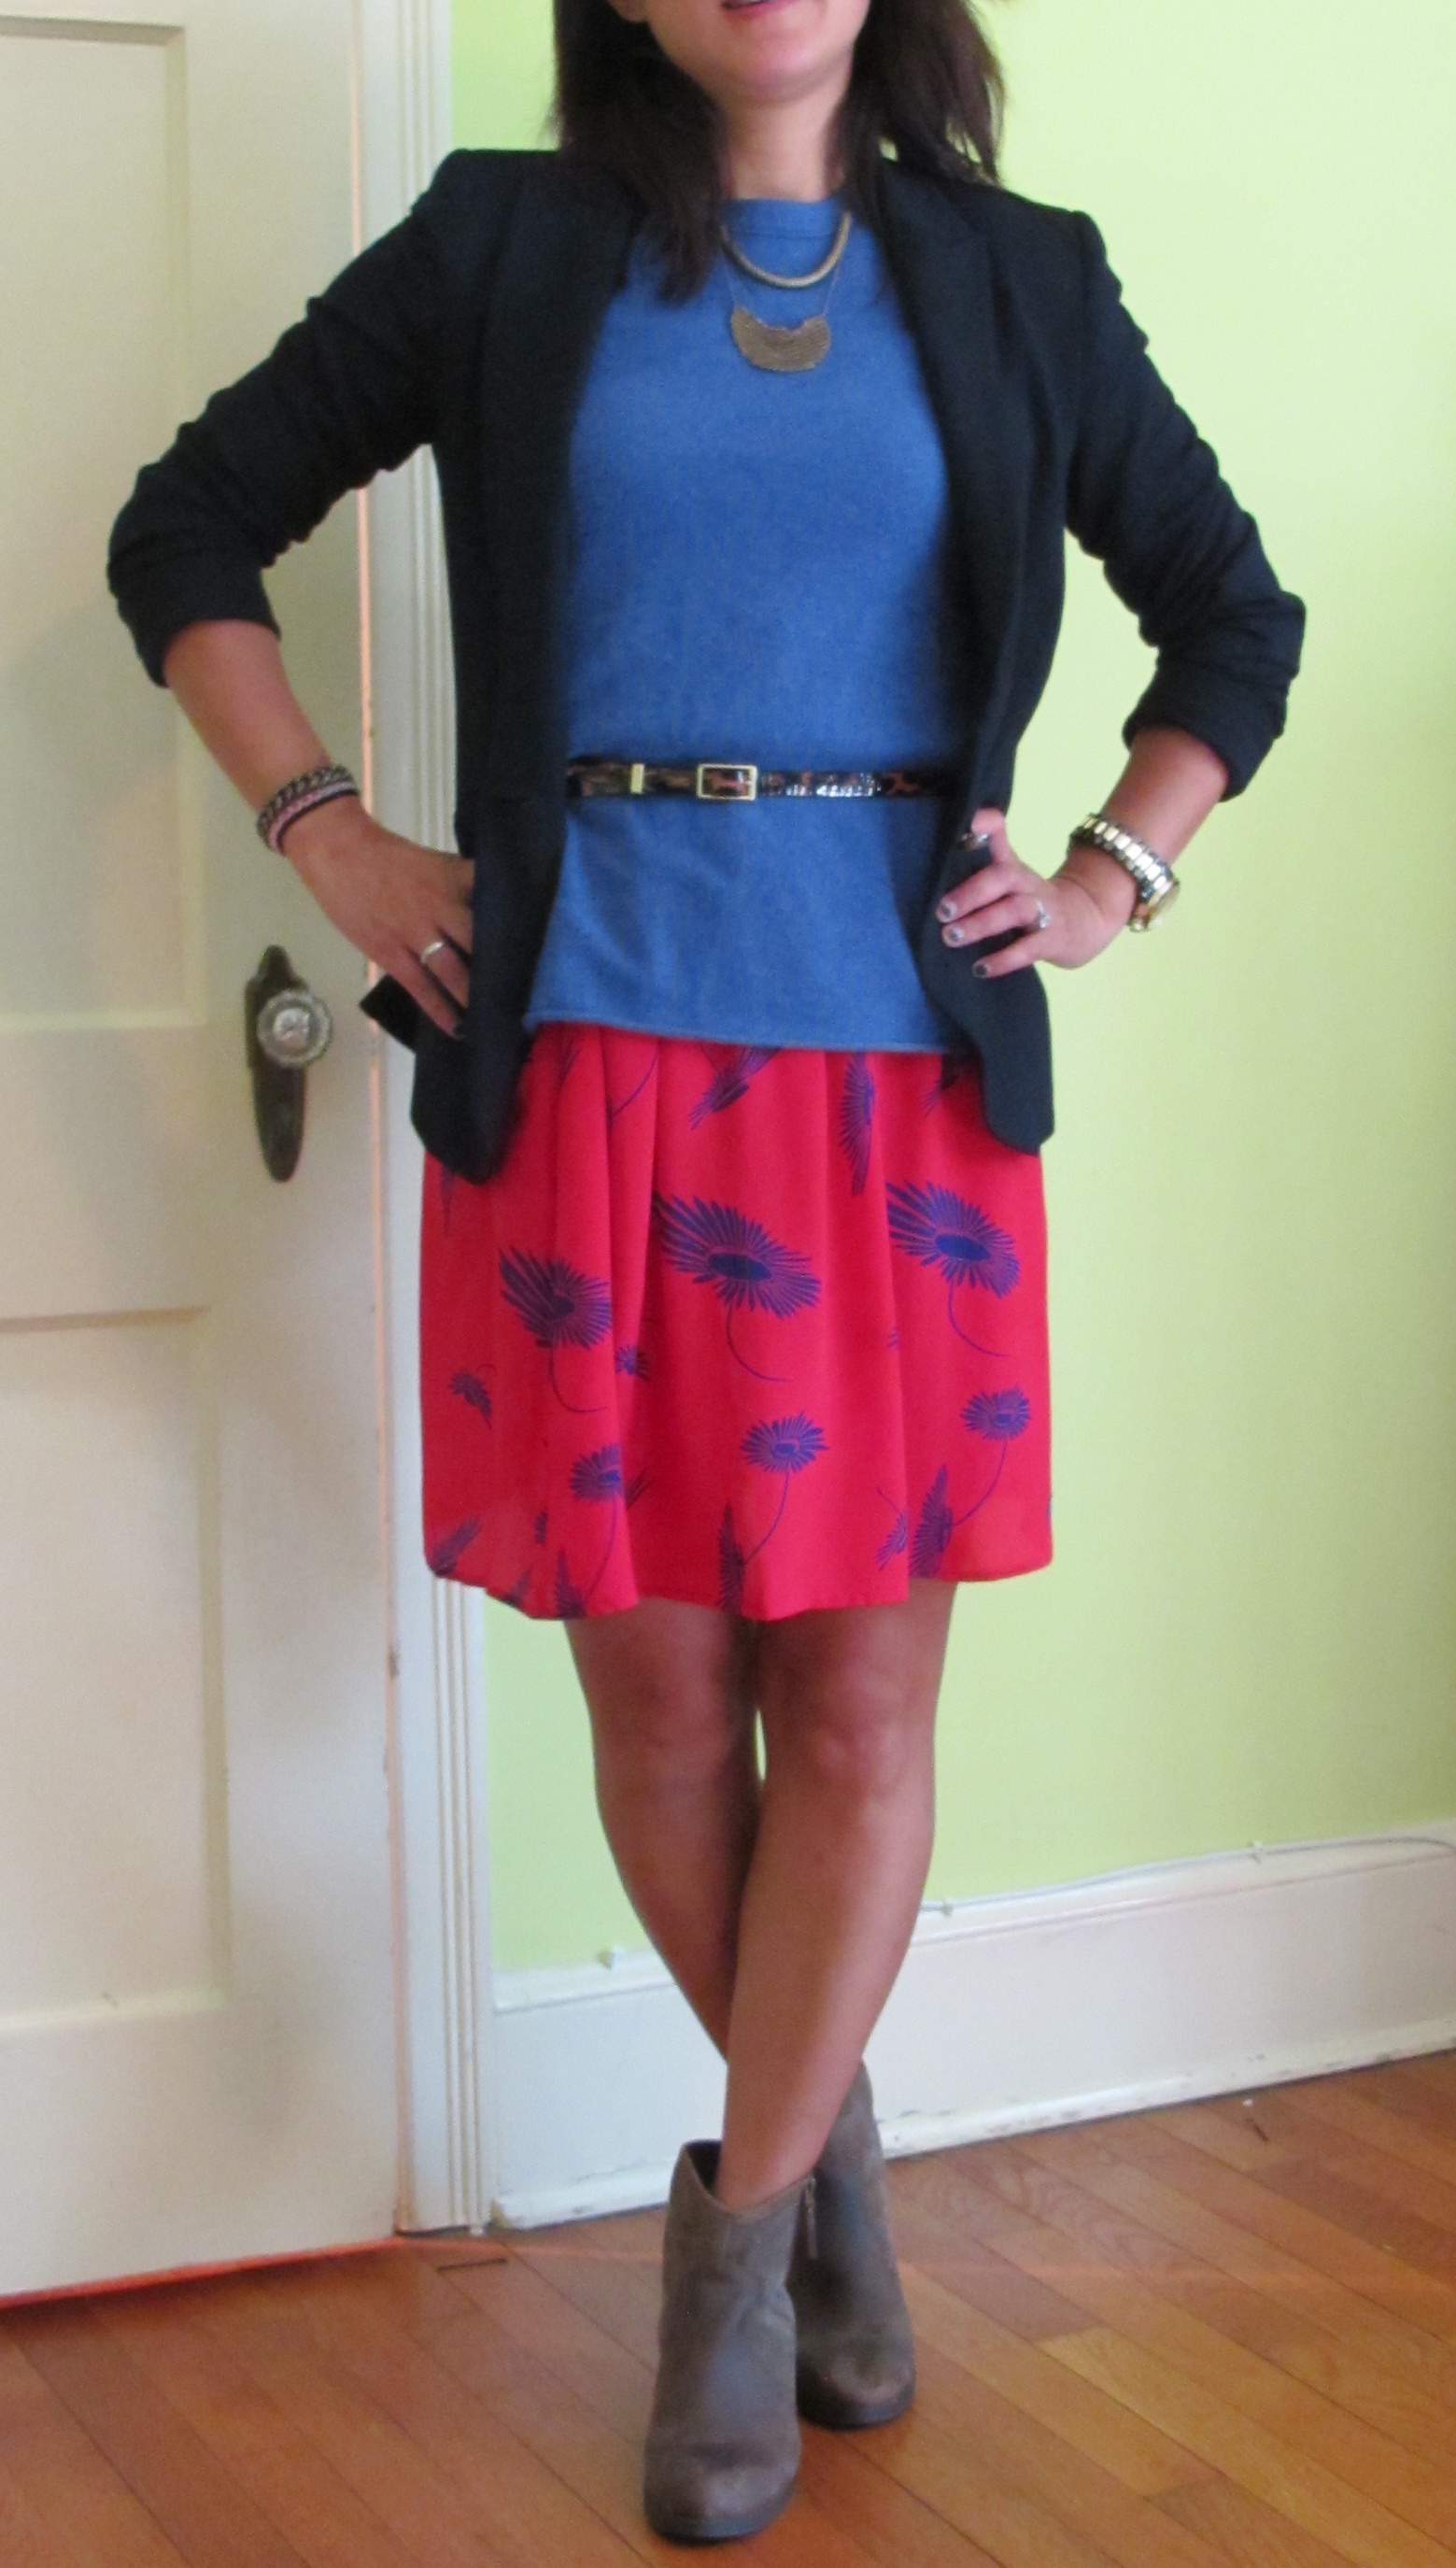
Layer #4: Jacket/Blazer. This is your final layer and finishes your look. I chose a navy boyfriend-inspired blazer from Zara (similar here).
The Final Test: Can You Move? This is very important because if you are walking around awkwardly feeling sweaty and robot-like, there is a problem. Remove a layer. The outfit still works minus the vest. And if you’re in an office setting? you probably wouldn’t do the vest and you’d sub the boots for a pair of pumps. I was comfortable and liked the mix of fabrics and styles so stuck with the vest. When it got warm later in the day, removed the blazer.
And, with the lace tee…
I also ended up surprising myself with all the options for that little red spring/summer dress just shopping my own closet. I can tell you what. If you need to find me this fall, just look for the girl in the little red dress. Happy layering!

 DC Style Factory is a personal styling and shopping service for men and women in the Washington, D.C. metro area.